Multipurpose Raspberry Pi – Part 2: Adding a Menu to Access RetroPie, Kodi, and the Raspbian Desktop

Switch Between Application Suites on your Multipurpose Pi with Ease

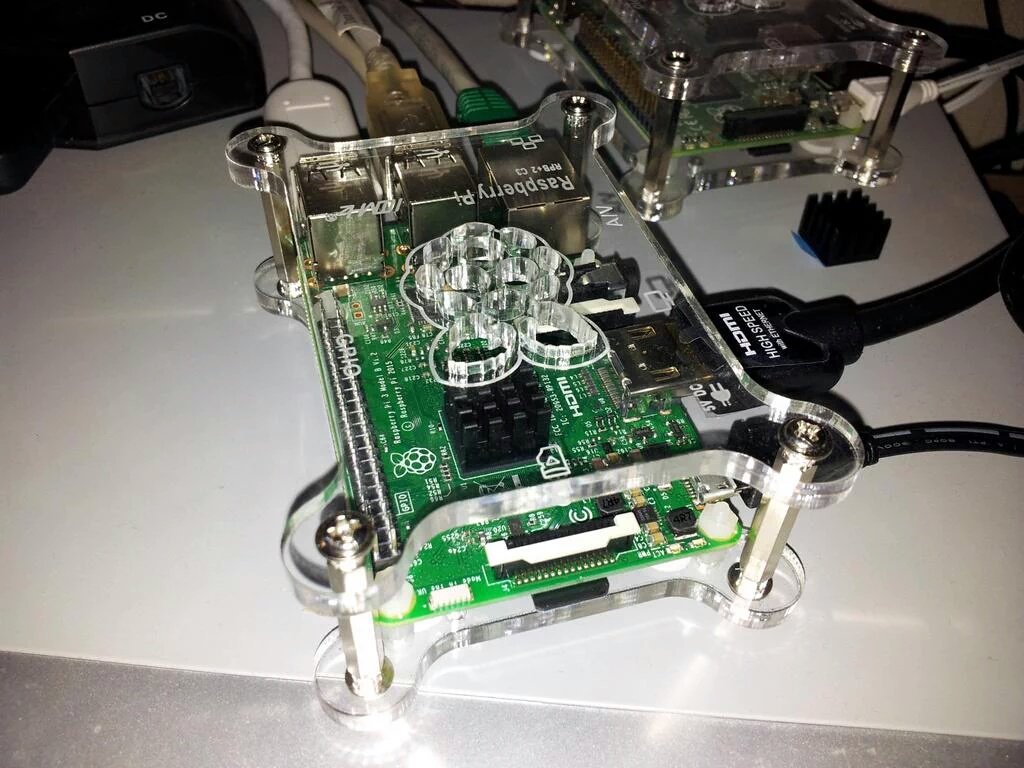
In this article, which builds upon the preceding post Multipurpose Raspberry Pi: Installing a Media, Gaming, PC Replacement, I demonstrate the addition of a menu to allow easy switching between application suites.

multipurpose_selector_menu_extreme_crop

diverging down arrows_alpha

Raspbian Desktop GUI
Raspbian Desktop
Emulation Station - Emulator Selection - RetroPie 3
RetroPie / Emulation Station
Kodi Media Center - Music Playback
Kodi Media Center

Whilst the solution overall is relatively straightforward, I’ve gone into some depth in order that this post can serve as a general how-to guide, providing some insights into Bash shell scripts, including: installing scripts using the desktop GUI or command line tools; how the code file is made executable; automatically running a script after login, and after programs are exited by the user; and other related concepts.

Topics Covered in this Post

Menu Design Requirements and Goals

As noted in the post detailing the installation of the Multipurpose Pi system, the RetroPie emulator system cannot be launched from the X-Windows Raspbian desktop GUI. This restriction forced the requirement that the Pi boot to the text-mode Bash terminal, which in turn required launching of a chosen application suite via typed commands:

startx for the Raspbian desktop,
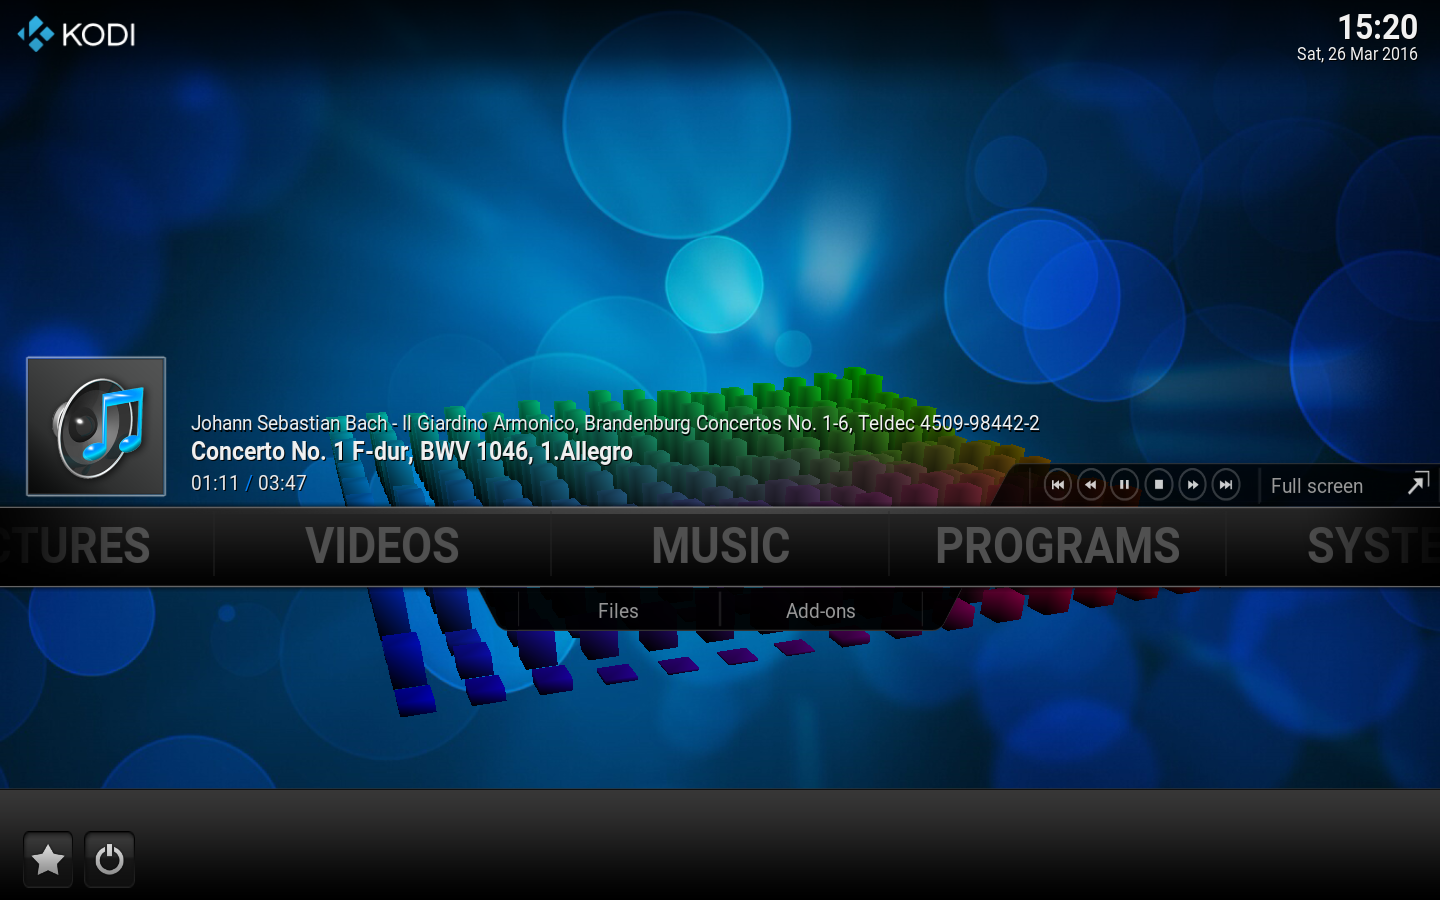
kodi for the Kodi Media Center, and
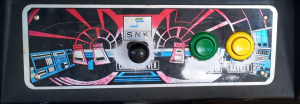
emulationstation for RetroPie.

Whilst this wasn’t a major issue, I wanted a method to launch a given suite without having to type commands at the Bash terminal – ideally via a menu-driven selection system. Whilst this necessarily must be text-based, it is friendlier than facing a blank command prompt upon booting.

Furthermore, I wanted the menu to automatically run when the Pi boots to the terminal, and also to be re-displayed whenever the user closes one of the selected application suites (using Kodi‘s power button, Emulation Station‘s Quit submenu, or Raspbian desktop’s main menu Shutdown option):

Kodi Media Center - Power Menu - Exit to Command Line
Emulation Station (RetroPie) - Quit Menu - Exit to Command Line
Raspbian Desktop - Shutdown Menu - Exit to Command Line

converging down arrows_alpha

multipurpose_selector_menu_extreme_crop

Continue reading

Multipurpose Raspberry Pi: Installing a Media, Gaming, PC Replacement

Have Your Pi and Eat It!
 

Raspbian Logo
Kodi Media Center Logo
retropie_logo_300x300

In this post I’ll be documenting how I set up a Raspberry Pi 3 (you can also use a Pi 2) as a lightweight PC replacement, combining a fully-fledged desktop GUI (Raspbian), Media Center (Kodi), and video games console and computer emulation suite (RetroPie).

The Pi 3 actually makes for a very capable PC replacement; this, and recent, posts, including graphics work, have been undertaken solely on the machine.

Topics Covered in this Post

A Little Background

I have a couple of older Raspberry Pi machines, each of which is limited to a single task. The Model 1 Pi has been doing duty for a couple of years as a media center, and is dedicated to running XBMC (named for XBox Media Center, showing the roots of the project which is now known as Kodi).

The Pi 2 is currently used for retro video gaming, running an installation of RetroPie 2; I ill-advisedly used the retropie_setup.sh script option to delete Raspbian files that were not directly needed by RetroPie, thereby removing the option of using the machine as a desktop replacement.

Having taken delivery of a shiny new Raspberry Pi 3 I was keen to take advantage of the increased power of the machine, along with a sizable 64GB SD Card, using it to perform multiple duties: a media center, a retro-gaming system, and PC workstation. I also wanted to avoid the need for swapping SD Cards, which is both a hassle and introduces needless wear and tear on the card port.

Raspberry Pi 3 within Camac Case, with PiHut Heatsink

Continue reading

PlayStation Emulation on the Pi: Enhancing the Experience with the Options Menu – Part Three: Analogue Controllers

Retropie’s PCSX-ReARMed PlayStation emulator supports analogue controls, however enabling support is a little unintuitive, although not difficult. There are a few small limitations and quirks, most of which are easily circumvented, as discussed below.

Hardware Setup

image
image
PlayStation Controllers. Images: softicons.com

For the most authentic experience, a genuine PlayStation DualShock analogue controller is recommended, or a functionally equivalent device (for instance I also use a wireless Xbox 360 controller). I am also assuming the use of a USB controller adaptor, such as a Mayflash or Wise unit (see my earlier post entitled What is RetroPie? System overview, software and hardware).

For analogue (and digital) controls a suitable joystick configuration file is required. Unfortunately controller setup can be nontrivial, and is beyond the scope of the current post; I am, however, planning to cover this topic in the near future.

image
Wise 3-in-1 Joy Box SS/PS/DC USB Adaptor
image
Mayflash SS/PS/N64 USB adaptor

Enabling Analogue Input via the RetroArch/Libretro Menu

With appropriate hardware in place, along with controller mappings, enabling analogue input requires access to the RetroArch/Libretro menu. For a little background, and further details, please see the following related posts:

Access to the menu is, by default, via the F1 key whilst the emulator is running.

From the main menu, first select the Options sub menu. Next, select the Core Options sub menu:

image
Libretro Menu - Main Menu - Options Menu Selected
image
Libretro Menu - Options Menu - Core Options Selected

From the Core Options menu, set the Pad 1 Type entry to Analog. Repeat for Pad 2 Type as required. The entry for Pad Type defaults to standard, that being a digital-only controller.

Continue reading

Emulation legality and extracting images from your own game cartridges

This post expands upon the contents of the static page on the legalities of emulation

As stated in the main Emulation Legality page, this is a complex issue (and differs across jurisdictions throughout the world). Anyone wishing to make backups of their own games is urged to conduct their own research before proceeding.

Stances towards the use of emulators and images/roms/iso’s differs from country to country, from hardware manufacturer to manufacturer, and from software developer to developer.

Nintendo, for example, provides detailed information regarding that company’s standpoint with regards to the use of emulators and game images:

Continue reading