The Libretro Options Menu – the Key to Enhanced PlayStation Emulation


This post builds upon the information in the preceeding article entitled RetroPie Emulation: RetroArch, Libretro, and the Power of the Options Menu.
Edit: This post has been extended to account for differences in RetroPie 3.6’s version of RetroArch/Libretro. The PlayStation emulator remains the same in both the 2.x and 3.x RetroPie revisions (Pcsx-ReARMed r22). The original post was based on RetroPie 2.x
Topics Covered In Part 1
- PlayStation Emulation on PiPlay and RetroPie
- Accessing the RetroArch/Libretro Options Menu
- Standalone Menu Entries
- Saving and Loading Game State
- Displaying the Emulator Framerate
- Libretro-Core Emulator Meta Keys
- Libretro-Menu – Avoid the Search Option
PlayStation Emulation on PiPlay and RetroPie
As noted in the aforementioned post, before discovering RetroPie I’d been running PiPlay on the Raspberry Pi 2, which provides a broadly similar emulation platform to RetroPie. Whilst the graphical emulator selection front-end is different to Emulation Station, many of the same emulators are in place; however all is not as simple as it appears.
Unfortunately, with the build of PiPlay I was using I ran into problems with various emulators; virtually all Megadrive / Genesis games I tried had corrupted sound, many would freeze at random, and there was no support at all for the 32X. The PlayStation emulator initially appeared to be excellent, however as I tried more titles I uncovered a number of shortcomings; I’m planning a future post on this topic, as the same emulator in RetroPie has a few different issues, and I became obsessed with understanding the problems in a bid to have the best of both worlds.

I should note that, being impatient to see if the Raspberry Pi was a solid emulation platform, I quickly switched to RetroPie and have not subsequently installed any newer PiPlay images; nonetheless the PiPlay distribution has many sound ideas, and is definitely worth further investigation.
One core feature which the PiPlay incarnation of the PlayStation emulator has is a comprehensive in-built options menu, accessed via the Escape key. This allows access to various settings, affecting the graphical and audio output, save states, controllers, and more. The following screen grabs show the native menu being accessed whilst a title is running:


Coming to the RetroPie version of the same emulator, I was surprised to find that this menu no longer existed; at the time I had no knowledge of the unified environment shared by Libretro-enabled emulators, but found various references to the ‘core menu’ in forums. As I was to discover, and as detailed in the preceding post, RetroPie’s PlayStation emulator implements the standard Libretro menu system.
Note: the terms Libretro menu and RetroArch menu appear to be used as synonyms in documentation and in forum posts.
Accessing the RetroArch/Libretro Options Menu
Once a game has been selected from RetroPie’s Emulation Station menu, and the emulator has loaded, the Libretro menu can be accessed at any time via the F1 key, or a suitably mapped controller button (or combination of buttons).
On RetroPie 2.x the menu’s Welcome screen is initially displayed, providing a handy summary of the navigation controls. Note that there are references both to controller inputs (‘axis’ for analog inputs, ‘btn’ for digital), and to keyboard mappings. The Welcome screen can be optionally switched off (this is the default in RetroPie 3.6).

Moving beyond the Welcome screen, the Main Menu options are displayed. Many of the options available reside in different locations in the different RetroPie versions, with several new sub-menus having been introduced to aid navigation. First we’ll examine the layout as found in RetroPie 2.x:

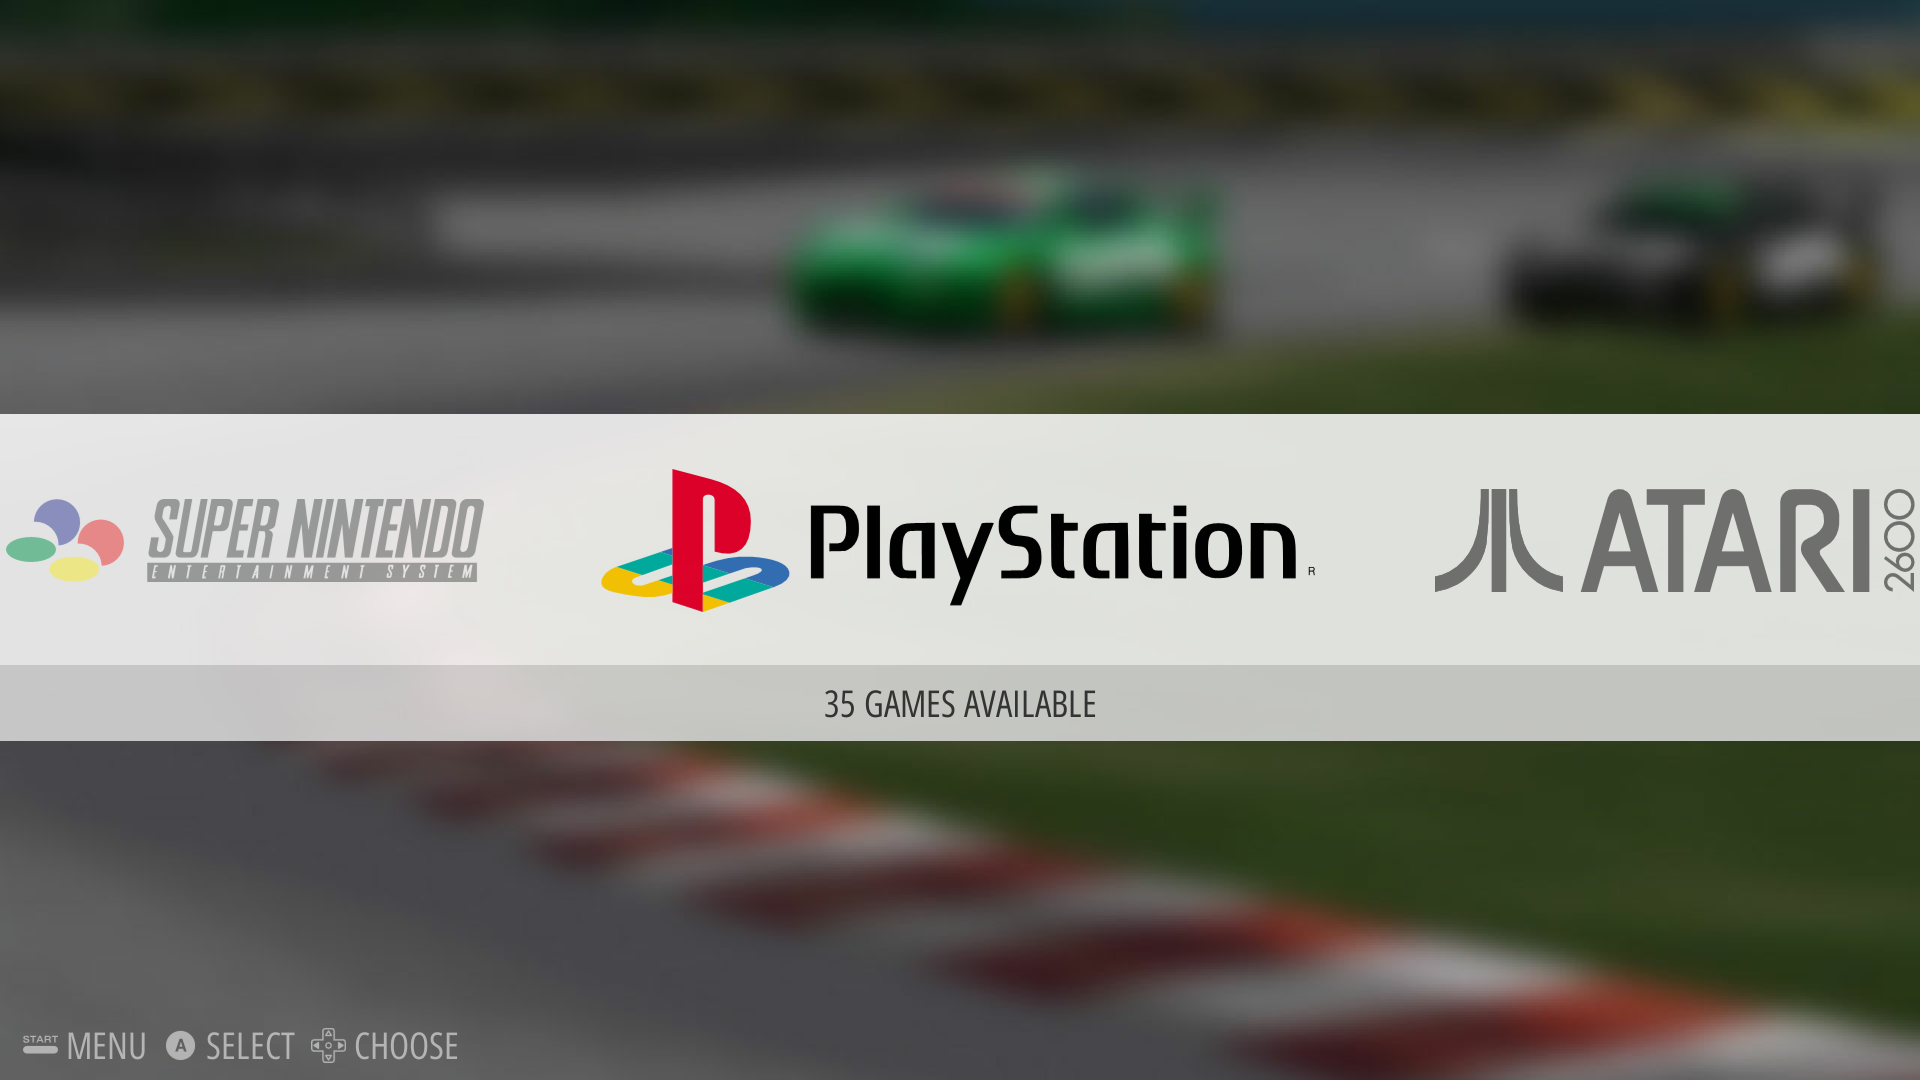
Note: not all entries available in the Libretro menu are common to all Libretro-core emulators; some, such as the PlayStation emulator, feature a great many entries, whilst others, such as the Atari VCS emulator, have comparatively few – the more features and options the underlying emulator supports, the more the Libretro menu is likely to expose.
Standalone Menu Entries
Most of the options lead to sub-menus, however a few are standalone entries:
-
Load Content (History) [RetroPie v. 2.x] / Load Recent [v. 3.6]:
List of games recently loaded. Notably the list covers all Libretro-core emulators, not just the currently selected system. Selecting an item will load the chosen game into the relevant emulator, thus providing a method of bypassing the Emulation Station UI for frequently selected titles. -
Save State:
Select a numerical ‘slot’ in which the next snapshot of emulated system memory will be stored. It is possible to use multiple slots; selecting ‘Auto’ will automatically increment the slot on each use of Save State. -
Load State:
Select a numerical ‘slot’ from which the next saved memory snapshot will be loaded. -
Take Screenshot:
Saves a screen grab to local storage -
Resume Content:
Exits the Libretro menu and continues running the game -
Restart Content:
Effectively reboots the emulated system. Note: the PlayStation boot sequence does not appear to have been optimised for the Raspberry Pi, and suffers a poor frame-rate and broken audio. Update: this is no longer the case on the more powerful Raspberry Pi 3 -
Help:
Displays the menu’s initial Welcome screen -
Quit RetroArch:
Exits the emulator and returns to the Emulation Station menu
The bottom of the menu displays the Libretro-enabled emulator core which is running, in this case revision 22 of the PlayStation emulator PCSX ReARMed, and the version of Libretro, which in this case is 1.1.
RetroPie 3.6 features Libretro 1.3.2 with a streamlined Main Menu:

Many of the options listed above have been relocated to the new Quick Menu, which now contains Save State, Load State, Take Screenshot, Resume Content, and Restart Content.

One option has been renamed, but remains on the Main Menu in both versions of RetroPie: Load History (Content) is named Load Recent in the revision 3.6.

Saving and Loading Game State
The Save State and Load State options are key features of Libretro-core emulators. Saving state causes the entire memory of the emulated system to be written to a local file (which, given the ram constraints of systems up to and including the N64, are very small by contemporary standards).
Loading State restores the game exactly as it was when saved – no more concerns with hoarding typewriter ribbons in Resident Evil, or surviving to the end of a level before doing something more mundane, like making dinner.
A large number of state ‘slots’ are available, all of which are game-independent. Unfortunately the slots are only numerically referenced, and cannot be associated with a name, so keep a pen and paper handy if using multiple slots for a single title.
Displaying the Emulator Framerate
Gauging the speed at which an emulator, or specific game, is running is useful in various circumstances, such as when testing overclocking, or applying effects such as scanlines via Shaders. We can determine if the emulated system is able to run at full speed, based on how many frames-per-second (fps) are being generated, in comparison to the expected figure.
One thing to bear in mind is that games for different geographical regions run at different frame rates; in general retro games systems output for one of two main television standards, either PAL or NTSC. Most European countries use PAL, running at 50 fps, whereas the US uses NTSC, at 60 fps.
The steps to provide a real-time display of the frame rate differ slightly between RetroPie 2.x and 3.6. On the older version, first access the Settings sub menu from the main menu:

Next select Video Settings – State, and enable Show Framerate.

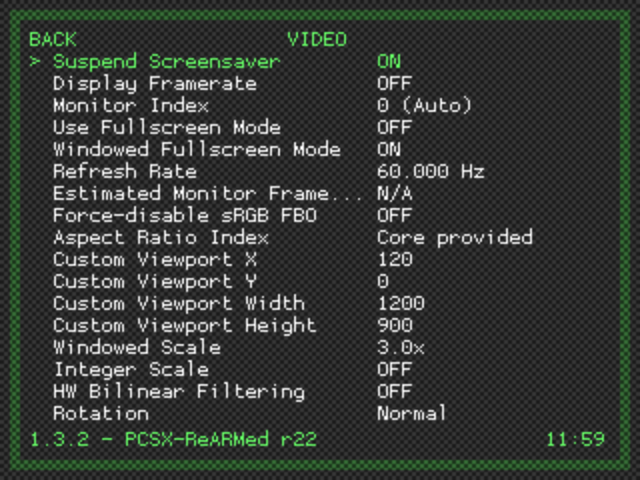
For RetroPie 3.6, first access the Settings sub-menu, which contains slightly revised options names:

Load the Video sub-menu, and switch the Display Framerate option to On
Once you have dismissed the RetroArch menu and returned to the PlayStation emulator, allow the system a few seconds to sample the data, as the frame rate appears to be averaged over some time period.
Tip: Most classic systems exist in both PAL and NTSC variants, with many games available in both formats. If a given NTSC title isn’t running at full speed, it can be worth obtaining the PAL version which, running at a lower framerate , may run more smoothly. Note, however, that many PAL versions of games were not optimised, and simply ran about 20℅ slower than the NTSC versions….
Libretro-Core Emulator Meta Keys
Various Libretro functions can be accessed directly via keyboard or controller mappings, saving the delay involved in accessing and navigating the menu system. Some of the functions, such as Pausing and Unpausing the emulator, appear only to be accessible using a direct access key.
The full list of mappings can be found in the main RetroArch configuration file retroarch.cfg, located at:
/opt/retroarch/configs/all
The mappings can also be viewed, and changed, from within the Libretro menu itself; from the Main Menu, select Settings, then Input Settings, then Meta Keys.
Note: if you have configured a controller to make use of the Libretro hot key* feature, then the hot key must be held whilst pressing the appropriate keyboard meta key.
* When using a controller, arbitrary Libretro functions can be mapped to a controller button. With the hot key button enabled it is possible to assign a Libretro function to a button which is also used for standard game control, such as the main fire button. When the hot key function is enabled, the hot key is held whilst pressing another button.
A Selection of Useful Meta Keys
-
Pause:
p
Pauses / Unpauses the emulator -
Slow Motion:
e
Runs the emulator in slow motion (does not appear to function with the PlayStation emulator) -
Frame Advance:
k
When paused, briefly unpauses then repauses the emulator, as if advancing a frame in a film. -
Reset Content:
h
Effectively reboots the emulated PlayStation -
Shader Next:
m
Selects the next Shader (graphical overlay, for example to simulate CRT scanlines) from all of those available. Note: many of the Shaders are processor intensive, and cause unacceptable slowdown during PlayStation emulation. -
Shader Previous:
n
Selects the previous Shader from all of those available -
Screenshot:
F8
Saves a screen grab to local storage. The location can be specified via the Settings menu, under the Path Settings sub menu. -
Volume Up:
Numeric Keypad +
Increases sound volume -
Volume Down:
Numeric Keypad +
Decreases sound volume
Libretro-Core Menu – Avoid the Search Option
One thing to watch out for whilst navigating the menu in RetroPie 2.x is the Search option (this does not appear to be a problem in version 3.6) If using a controller configured as per a standard PlayStation pad, pressing the Triangle button brings up an apparently non-dismissable Search box. Once this has been displayed, the only way out is to forcibly power-down the system (which risks file corruption), or to SSH into the Raspberry Pi using a tool such as PuTTy, and then issuing a reboot command:
sudo reboot
Alternatively, and less aggressively, it is possible to use the top command to determine the Process Id (PID) of the RetroArch process, which can be shut down with the Kill command. This should return you to the Emulation Station menu.

For basic instructions on remote access to the Pi, and handy Linux command line guidance, please see my previous posts:
- Don’t Fear The Command Line: Raspbian Linux Shell Commands and Tools – Part 1
- Navigating the Raspberry Pi’s File System. Raspbian Linux Shell Commands and Tools – Part 2
In Part Two:
Part Two of this post covers the use of the Options Menu to enhance the resolution of the PlayStation emulator and apply bilinear filtering to smooth the image.
Part Three will investigate subtle issues with the use of digital and analogue controllers.
A Labour of Love
Retro Resolution is entirely a labour of love. Please consider offering a donation if the information here has helped illuminate, enlighten, or otherwise assisted you!

Related Posts
- RetroPie Emulation: RetroArch, Libretro, and the Power of the Options Menu
- PlayStation Emulation on the Pi: Enhancing the Experience with the Options Menu – Part Two: Graphics
- PlayStation Emulation on the Pi: Enhancing the Experience with the Options Menu – Part Three: Analogue Controllers
- What is RetroPie? System overview, software and hardware
- Links: Raspberry Pi and Gaming Emulation via RetroPie
About
Disclaimers
Privacy Policy
Terms and Conditions
© Retro Resolution

Thanks. This definitely should be in retropie’s wiki.
LikeLike
Hi Zup,
Thanks for the comment, I’m glad the post was useful
LikeLike