Stability Testing an Overclocked Raspberry Pi
Checking that the system is reliable after applying overclocking

Following on from Part 1 of this post on Overclocking, we turn our attention to stability testing the system; this process is crucial, as simply witnessing the Pi boot to the command shell, or a Graphical User Interface (GUI) isn’t proof that a given combination of overclock settings is stable.
Sometimes an instability will only become apparent after several hours of intensive activity on the system (which is highly likely if using the system for gaming with an installation such as RetroPie).
There are three tools / scripts which I have used in the stability testing processes. For each I will provide instructions on obtaining and installing (or running, as appropriate):
- MPrime.py
– Python script to search for prime numbers, which heavily loads the CPU
– User selectable numeric range to test
– User selectable number of cores to run upon simultaneously. - Memtester
– Tests the stability of the RAM
– Natively runs on a single CPU core, but can be run on all cores using multiple remote SSH sessions, or the Screen tool - Stability Test Script
– Reads the entire SD card 10x. Tests RAM and I/O
– Writes 512 MB test file, 10x.
– Script can be easily updated to change the number of reads/writes etc.
This post covers the use of mprime. Subsequent posts covers the use of Memtester and the Stability Test Script. Please use the links in the above list to access the relevant information.
Assistance for those new to Linux
Making changes to the Overclock settings on the Pi, and testing the changes for stability, requires a little knowledge of the Linux command shell. Please see my related post for a basic guide which should help those new to Linux and/or Raspbian get started: Don’t Fear The Command Line: Raspbian Linux Shell Commands and Tools – Part 1
Accessing the Raspbian Command Line / Shell
All of the above tools and scripts require access to the Raspbian command line / shell.
If you are using the RetroPie installation, you can reach the shell from the Emulation Station menu by pressing F4, or using the menu and selecting ‘Quit Emulation Station’
If you are using a GUI, use the shutdown menu (or equivalent), in which an option to exit to the command line / shell should be present. You could also launch a Shell from the GUI and perform the same commands as listed below.
Introducing mprime – Prime Number Search Script
Overview of mprime from the tool’s GitHub page (which offers several variants of the script):
These scripts [were] developed as a means for loading the Pi’s CPU in an educational or research context …mprime.py uses multiprocessing to go through a range of numbers and find primes. This can use all the cores in Pi 2.
Obtaining and Installing mprime.py Python Script
The mprime script is a Python program which is available from the project’s GitHub page either as a zip file of the entire repository, or as source code which can be copied and pasted as text. Raspbian contains an in-built Python interpreter, through which the script is executed.
A couple of methods can be used to transfer the script to the Raspberry Pi:
-
Method One – Download and transfer the script to the Pi as a file:
Download the script file from the Github code repository for Wilson’s prime number finder for the Raspberry Pi.
– On the right hand side of the linked page, use the ‘Download Zip’ button to obtain an archive containing all of the repository’s files.
– Extract themprime.pyfile from the archive
– Transfer this file to target machine using a File Transfer Protocol (FTP) tool such as FileZilla.
– Ensure that the file has the necessary permissions to be read -
Method Two – Copy and Paste into a new file on the Raspberry Pi:
– Obtain the source code from the source code repository, selecting and copying all of the code displayed in the window on this page.
– Create a new text file on the target Raspberry Pi:
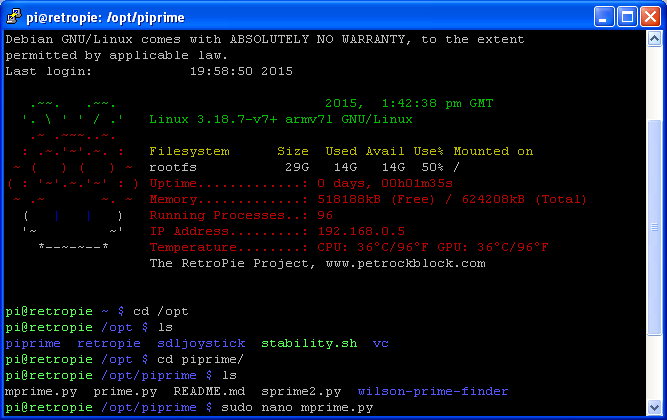
Navigate to a suitable location in the file system (for example I use /opt/ where I have created a new folder namedpiprime)
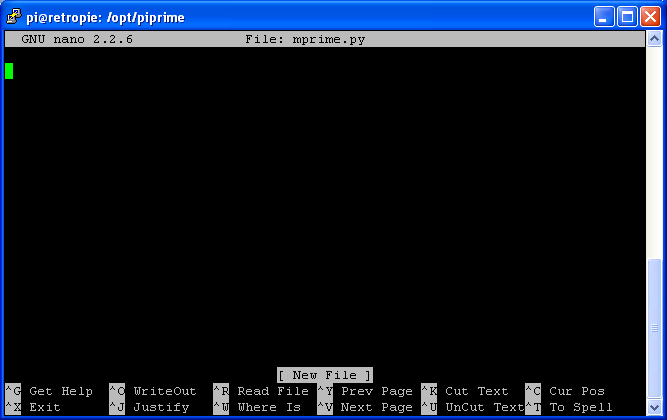
– Open a new file using the in-built Nano text editor (or whichever editor you prefer). When launching Nano use thesudoprefix command to ensure the new file can be written back to the filesystem:
sudo nano mprime.py
– use a remote SSH client to connect to the target Raspberry Pi, and to copy the code into a new text file.
(Click images for full-size versions)
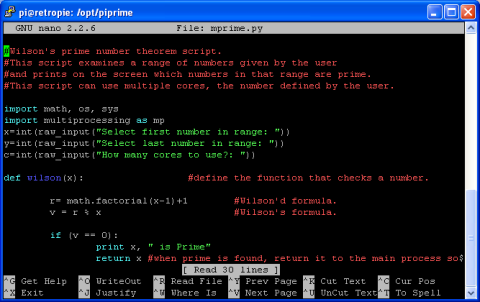
Running the MPrime.py Python Script
At the command line, navigate to the location of the mprime.py script, and execute:
python mprime.py
The program will request a number range within which to search for primes. A useful range to provide a reasonably long-running test is 10000 to 15000. The program will prompt you to:
Select first number in range: and Select last number in range:
The program will next request how many CPU cores to utilise. For a Raspberry Pi 1, there is only a single core, so enter ‘1’. For a Raspberry Pi 2, there are 4 cores; for stability testing we need to utilise them all, so enter ‘4’.
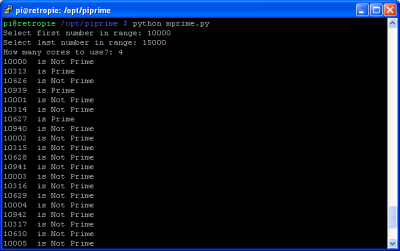
The program will run through the selected number range. If there are any issues caused by overclocking the program will display errors as it encounters them (or in extreme cases the program may freeze or otherwise crash the Pi – either way the overclock settings will need adjusting).
Continue the Stability Testing Process
Assuming the system proves to be stable having run through testing the CPU with mprime, it is time to move on to testing the RAM with Memtester, and finally the micro SD storage with the Stability Test Script
A Labour of Love
Retro Resolution is entirely a labour of love. Please consider offering a donation if the information here has helped illuminate, enlighten, or otherwise assisted you!

Related Posts
- Links: Raspberry Pi and Gaming Emulation via RetroPie
- Don’t Fear The Command Line: Raspbian Linux Shell Commands and Tools – Part 1: Just the Basics
- Navigating the Raspberry Pi’s File System. Raspbian Linux Shell Commands and Tools – Part 2
Overclocking and Stability Testing the Raspberry Pi
- Part 1: Overclocking
- Part 3: Stress testing the RAM with Memtester
- Part 4: Stress testing the SD card storage with the Stability Test Script
About
Disclaimers
Privacy Policy
Terms and Conditions
© Retro Resolution



I wrote a nifty tool for reading temps while overclocking
https://github.com/loopyd/blinktemp
Just thought I would share it as a useful visual temperature monitor + 10 second interval logger for CPU temperature. It uses a blinkstick cube, and the Raspberry Pi Model 3b
LikeLike
Thanks for the comment – this looks excellent, I’ll be investigating the blinkstick cube now – cheers
LikeLike
BlinkStick looks terrific, especially as I was considering purchasing a Pi-controlled LED light. Thanks for making your github repo available -my Python is rusty, but I’ve no problems reading your code.
LikeLike