Recording Live Gameplay in RetroPie’s RetroArch Emulators Natively on the Raspberry Pi

Capturing Footage in Real-Time Without Additional Hardware from RetroPie’s Libretro Core Emulators

Video Captured Natively in RetroPie - Source: RetroResolution

The following guide demonstrates how to enable the capture of real-time gameplay footage from various console systems available in the RetroPie emulator suite, a number of which can utilise the RetroArch framework to provide an integrated audio-video recording facility.

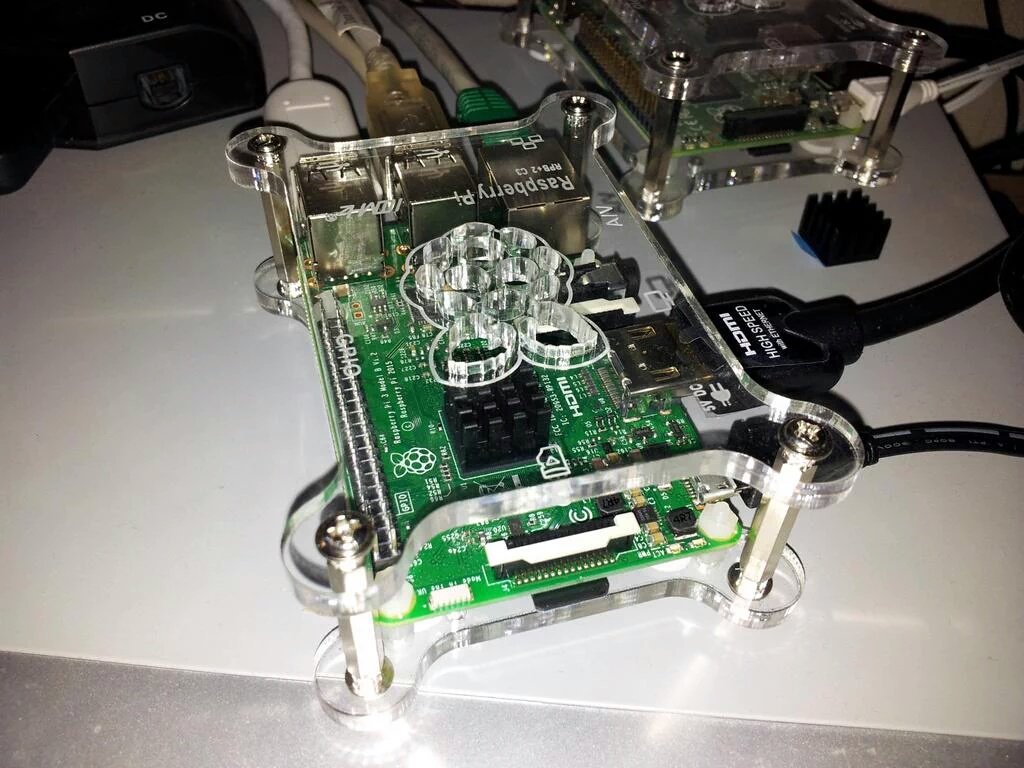
Implemented natively on a standard Raspberry Pi, this approach runs without the need for any external hardware (such as an Elgato capture-card).

Topics

A Little Background Information

My motivation to undertake what has become a sizeable research, development, and experimentation, project grew from a simple desire to obtain recordings of emulators running under RetroPie. I’d previously managed to enable the audio-video feature provided by the Atari ST emulator, Hatari, and was hopeful that a software-only solution was feasible for other systems.

RetroPie Versions Tested

At time of writing this guide has been tested on RetroPie 3.7, 3.8.1, and 4 (rc-1) setups, all running on installations of Raspbian Jessie 2016-05-27, and RetroPie 4.0.3 installed on Raspbian Jessie with Pixel 2016-09-23

Searching for other emulators offering recording, I found only the non-Libretro variant of Fuse to have in-built facilities; whilst serviceable for capturing ZX Spectrum games, the audio-video files generated by the emulator are of a decidedly non-standard format.

Fundamentally it was my experiments when attempting to transcode footage of Technician Ted captured from Fuse, first with avconv, and later with FFmpeg, and a subsequent enquiry on the RetroPie forum, which spawned the series of articles which form this how-to guide.

For reference, the system used whilst researching this project was a Raspberry Pi 3, overclocked to 1300mhz (please see Overclocking the Raspberry Pi 3: Thermal Limits and Optimising for Single vs Multicore Performance for specifics).

Continue reading

Automatically Mounting an External USB Hard Disk on the Raspberry Pi

How-to Guide: Automatically Mount an External USB Storage Device at Boot Time, and Within Emulation Station

Raspbian Logo
External Hard Disk - Image: Clipshrine.com
USB Symbol - Image: Clipshrine.com

This how-to guide shows a method to automatically mount an external USB drive on the Raspberry Pi. The general technique which I have adopted and is common, and whilst there are similar guides available, I have adapted the approach specifically for use on a Pi running Raspbian Lxde Desktop, Kodi Media Center, and Emulation Station with RetroPie.

In this article I aim both to demonstrate and expand upon the steps involved, whilst highlighting some issues which I have encountered when using this approach, and providing their resolutions.

Topics

A Little Background Information

My Raspberry Pi 3 is setup to serve triple duty as a lightweight PC replacement, running the Raspbian desktop, as a media center using Kodi, and as a retro video game emulator suite, via RetroPie. I have my machine set to boot to a custom menu at the command prompt, rather than directly to the desktop, to facilitate easy switching between these options. Please see the Related Posts section for setup guides detailing how this was achieved.

The Raspbian kernel does not automatically mount external USB drives by default; this isn’t an issue when launching the Kodi media center, or the desktop, as both have the capability to detect and mount a USB hard disk or flash storage device once it is connected.

Continue reading

Multipurpose Raspberry Pi: Installing a Media, Gaming, PC Replacement

Have Your Pi and Eat It!
 

Raspbian Logo
Kodi Media Center Logo
retropie_logo_300x300

In this post I’ll be documenting how I set up a Raspberry Pi 3 (you can also use a Pi 2) as a lightweight PC replacement, combining a fully-fledged desktop GUI (Raspbian), Media Center (Kodi), and video games console and computer emulation suite (RetroPie).

The Pi 3 actually makes for a very capable PC replacement; this, and recent, posts, including graphics work, have been undertaken solely on the machine.

Topics Covered in this Post

A Little Background

I have a couple of older Raspberry Pi machines, each of which is limited to a single task. The Model 1 Pi has been doing duty for a couple of years as a media center, and is dedicated to running XBMC (named for XBox Media Center, showing the roots of the project which is now known as Kodi).

The Pi 2 is currently used for retro video gaming, running an installation of RetroPie 2; I ill-advisedly used the retropie_setup.sh script option to delete Raspbian files that were not directly needed by RetroPie, thereby removing the option of using the machine as a desktop replacement.

Having taken delivery of a shiny new Raspberry Pi 3 I was keen to take advantage of the increased power of the machine, along with a sizable 64GB SD Card, using it to perform multiple duties: a media center, a retro-gaming system, and PC workstation. I also wanted to avoid the need for swapping SD Cards, which is both a hassle and introduces needless wear and tear on the card port.

Raspberry Pi 3 within Camac Case, with PiHut Heatsink

Continue reading

Overclocking the Raspberry Pi 3: Thermal Limits and Optimising for Single vs Multicore Performance

Pragmatic Overclocking

Silicon Wafer - Image: GamersNexus.Net
Silicon Wafer – Image: GamersNexus.Net

Overclocking the Raspberry Pi 3 – Free Speed and Trade-offs

The Raspberry Pi 3, in common with the the older Pi 1 and Pi 2 models, can be overclocked – that is, the main processor, graphics chip, and memory, can be run faster than the default factory settings. Whilst more speed equals more processing power, there’s a trade-off to be considered with the new hardware that generally wasn’t an issue on the earlier systems.

Please Note: at time of writing overclocking the Pi 3 does not appear to be officially sanctioned. This is noted in a post on Gordons Projects, and can be seen in the overclocking entry in the Raspbian O/S’s raspi-config tool, which states ‘This Pi cannot be overclocked’. I do not know whether implementing any overclock options on the Pi 3 will set any internal flags and affect your warranty (early generation Pi’s do so if the Governor is bypassed). If in doubt, wait until the Raspberry Pi foundation makes a statement on the subject.

Raspi-Config Pi 3 - This Pi Cannot be Overclocked
Raspi-Config Pi 3 – This Pi Cannot be Overclocked

Nevertheless, the new Pi can certainly be overclocked. Whilst the process by which this is achieved remains the fundamentally the same, editing the config.txt file, overclocking is not quite as straightforward as it previously has been. The issue is one of thermodynamics, as the new model runs somewhat hotter than the those of the previous generations, at least in the case of the Pi which I took delivery of the day after the new model was released*

* The presence of high CPU temperatures on the new machine could be limited to a certain batch, or an example of the variations in CPU tolerances such as those resulting from lithographic techniques used to create the processors.

Raspberry Pi 3 within Camac Case, with PiHut Heatsink

Continue reading

PlayStation Emulation on the Pi: Enhancing the Experience with the Options Menu – Part Three: Analogue Controllers

Retropie’s PCSX-ReARMed PlayStation emulator supports analogue controls, however enabling support is a little unintuitive, although not difficult. There are a few small limitations and quirks, most of which are easily circumvented, as discussed below.

Hardware Setup

image
image
PlayStation Controllers. Images: softicons.com

For the most authentic experience, a genuine PlayStation DualShock analogue controller is recommended, or a functionally equivalent device (for instance I also use a wireless Xbox 360 controller). I am also assuming the use of a USB controller adaptor, such as a Mayflash or Wise unit (see my earlier post entitled What is RetroPie? System overview, software and hardware).

For analogue (and digital) controls a suitable joystick configuration file is required. Unfortunately controller setup can be nontrivial, and is beyond the scope of the current post; I am, however, planning to cover this topic in the near future.

image
Wise 3-in-1 Joy Box SS/PS/DC USB Adaptor
image
Mayflash SS/PS/N64 USB adaptor

Enabling Analogue Input via the RetroArch/Libretro Menu

With appropriate hardware in place, along with controller mappings, enabling analogue input requires access to the RetroArch/Libretro menu. For a little background, and further details, please see the following related posts:

Access to the menu is, by default, via the F1 key whilst the emulator is running.

From the main menu, first select the Options sub menu. Next, select the Core Options sub menu:

image
Libretro Menu - Main Menu - Options Menu Selected
image
Libretro Menu - Options Menu - Core Options Selected

From the Core Options menu, set the Pad 1 Type entry to Analog. Repeat for Pad 2 Type as required. The entry for Pad Type defaults to standard, that being a digital-only controller.

Continue reading

Overclocking and Stability Testing the Raspberry Pi 2 – Part 4: SD Storage Testing

Stability Testing an Overclocked Raspberry Pi
 

In the final part of the series of posts concerning Overclocking and Stability Testing the Raspberry Pi, we will be checking SD Card Storage reliability with the elinux.org Stability Test Script.

Smashed Hard Drive – Image: thefileroom.com

Introducing the Overclocking Stability Test Script

The Stability Test Script is a program from elinux.org, described on that site as:

…a script to stress-test the stability of the system, specifically the SD card. If this script runs to completion, without any errors showing in dmesg, then the Raspberry Pi is probably stable with these settings

Why Stability Test the Pi’s SD Storage?

As noted in Part One of this series, in the early days (and years) of the Pi’s existence there were apparently widespread issues whereby overclocked machines experienced corrupted SD card data. The official, definitive, information on this issue comes from elinux.org: SD Card Usage with Overclocking

Stability of SD card operations when using overclocking is independent of:

  • Filesystem type, ext4, NTFS or other.
  • SD card vendor.
  • The Raspberry Pi model.
  • SD card size – verified for 16 GB and up.

What does matter is when you under-power your Raspberry Pi (that is, less than the Raspberry Pi base setup specifications!).

There initially was an increased likelihood of SD card corruption when using overclocking. This is no longer an issue (with firmware from Nov 11 2013 or later).

Continue reading

Overclocking and Stability Testing the Raspberry Pi 2 – Part 1: Overclocking in Depth

More speed for free?

Silhouette Clockwork - Image Original: andreakihlstedt.com
Silhouette Clockwork – Original Image: andreakihlstedt.com

Overclocking and Stability Testing – Part 1

When using the Raspberry Pi 2 to run any sort of intensive software, which certainly includes emulating classic video games systems using RetroPie, you really need all the processing and graphical horsepower you can get. Luckily there’s more available under the bonnet of the Pi with a little tweaking.

Note: For additional considerations when overclocking the Raspberry Pi 3, please see Overclocking the Raspberry Pi 3: Thermal Limits and Optimising for Single vs Multicore Performance, in addition to the current post.

Topics Covered In Part 1

Topics Covered In Parts 2, 3, and 4

Disclaimer

Overclocking the Pi is supported by tools provided with standard operating system distributions, such as Raspbian, and sanctioned by the manufacturer (with some caveats, as discusssed below). That said, the following details only my own research and experiences with a single Raspberry Pi 2 device; as always, your mileage may vary.

Assistance for those new to Linux

Making changes to the Overclock settings on the Pi, and testing the changes for stability, requires a little knowledge of the Linux command shell.

Please see my related posts for a basic guide which should help those new to Linux and/or Raspbian get started:

Overclocking and Power – Use a Quality PSU

When overclocking it is worth ensuring that your Pi is serviced by a good quality Power Supply Unit (PSU), as this is often a point of failure. Not all micro usb supplies, or cables, are up to the task.

Please see my earlier post covering this topic here.

Why Overclock?

The Raspberry Pi 2, as with the predecessor Pi, can be setup to run faster than the default system, effectively giving extra processing and graphical capabilities for free. For retro gaming this can be critical, and is especially true of the N64 emulators, as well as when running more demanding PlayStation releases such as Gran Turismo 2.

Raspberry Pi System Architecture

The Raspberry Pi 2 contains a System on a Chip (SoC), which integrates a quad-core ARM CPU and a Broadcom VideoCore IV Graphics processing unit (GPU), alongside 1GB of SDRAM memory.

Raspberry Pi 2 Model 2
Raspberry Pi 2

Continue reading